
I hope you all had a great festivus?
For my first article of the year I decided to go back to some of my photos from 2016 and run them through Capture One Express v12 (C1E) to see how they looked over two years later and with the touch of a different photo editor.
For those of you that ask me about such things, these edits don’t employ any of the Fujifilm film simulations.
They’ve been edited on a image-by-image basis, with tweaks where I felt they were needed. As well as the standard dodge and burn type adjustments, I’ve also used the levels tool and on some images custom white balance.
These edits are 100% C1E, which is why in some cases there’s perspective correction and small cloning/spotting jobs that haven’t been done – C1E doesn’t offer these tools, but it’s free and with C1E you’re getting a LOT more than you’re paying for 🙂
I think some of these would work better in monochrome, but I wanted to work in colour as that’s an area where I really want to understand C1E and its possibilities for my workflow.
Personally I feel that it’s always good to revisit older images, especially with new tools.
The phrase that’s how I remember it looking isn’t really so applicable over two years later on subjects that I don’t have an emotive connection too and/or don’t visit very regularly (for me anyway, you might have a better memory), so I think when we look at older work we tend to take the image as is, and edit it as we see fit rather than attempt to recreate what we remember seeing.
If I’ve got this right, you should be able to click on each image to open it in a new window where you can see it larger… but not that large, this isn’t (ever) about pixel peeping for me.
I’ve tried to use shots that I haven’t used before, which I think of as ‘outtakes’ so long term readers (or anyone who’s just discovered the site and cram read it all* over Christmas) might remember similar images to these in previous articles.
But I think technically they’re all ‘new’
(*tell me you had a better Christmas than that)

If I’m using colour I like it to be quite bold if it can be, and compared to some editors I think that C1E gives a strong colour straight out of the box
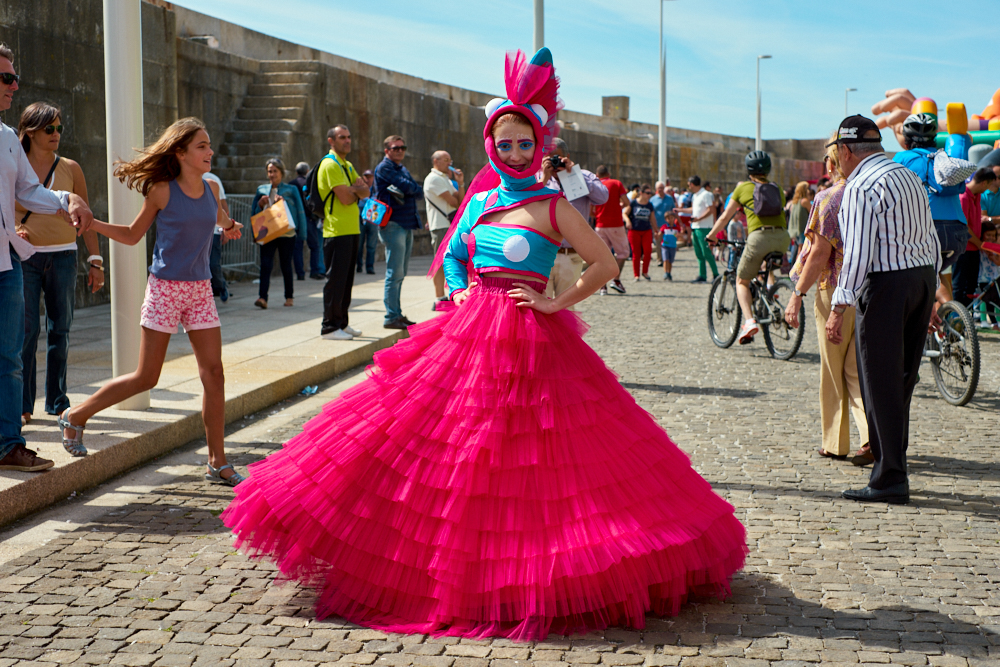
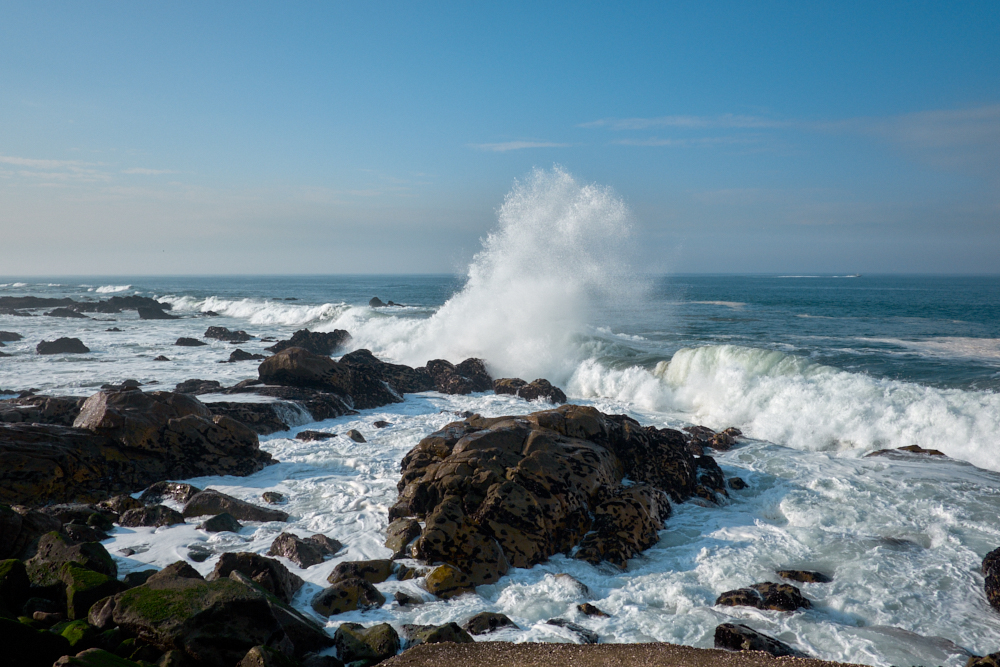
I’m impressed with the C1E colours here and I think most of them look true to life yet with a vibrancy that befits a colour photograph.

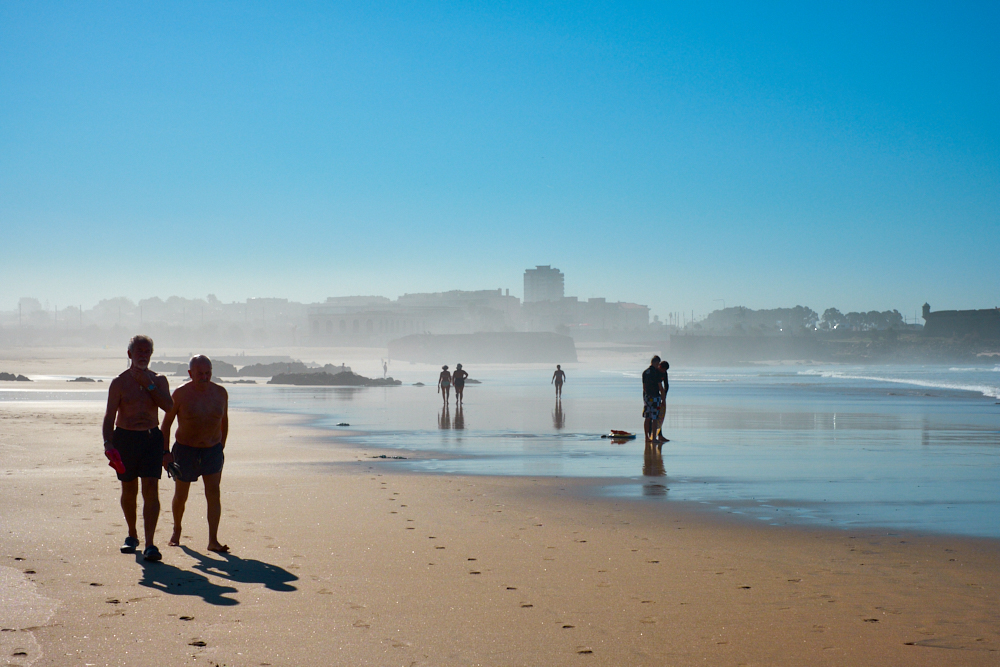
I’m less convinced about the sky and water colour in this image, but it was years ago… maybe it did look like that! Of course in full fat editors, we’d mask off the sky, perhaps the water – make selective edits. But C1E isn’t full fat so we didn’t 🙂
This (and the next) image is quite a high dynamic range scene, and I feel that C1E has done very, very well. (YMMV)
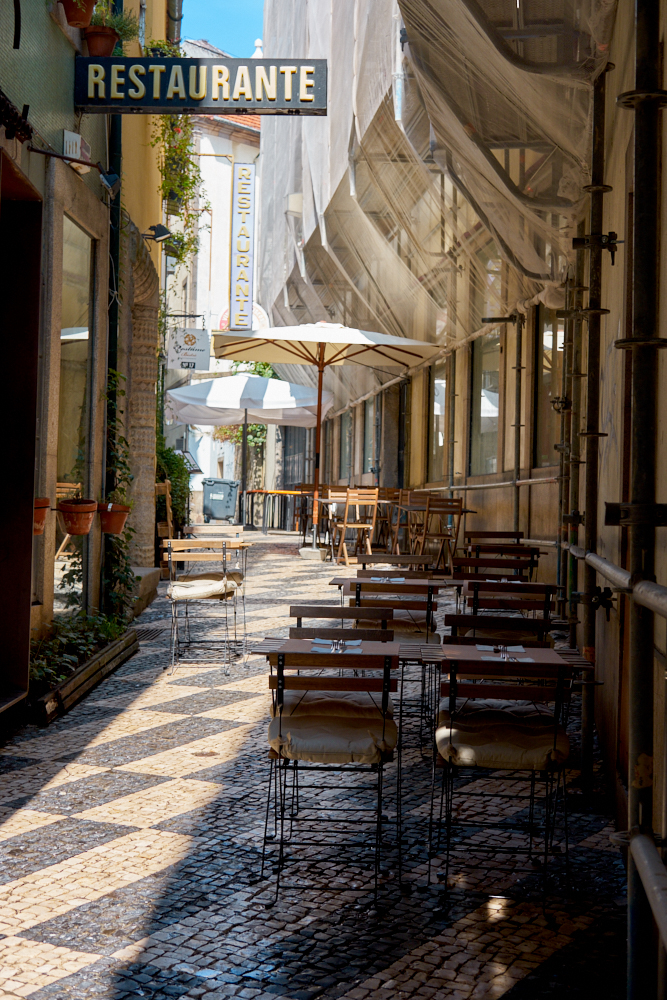
Another high DR scene, not quite as well persevered as the preceding image (not all the highlights are recoverable), but it would probably work ok in monochrome.
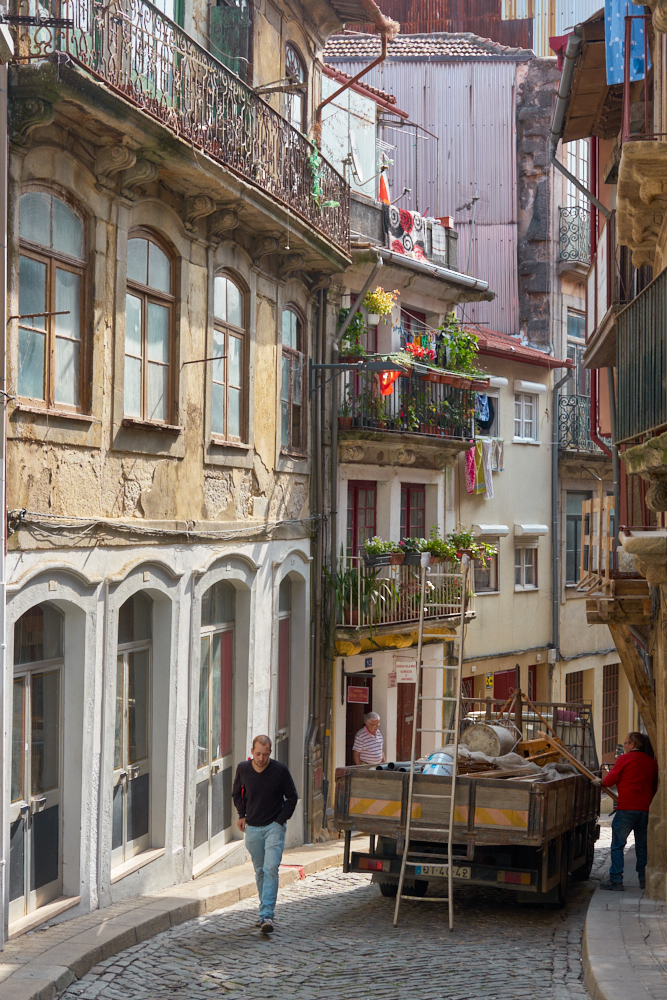
Originally, this was edited to be quite subtle – then I started tweaking the levels and ended up really digging the high contrast look.

This image has more DR than it might first appear (ship very bright, trees very dark) and I have to say that I’m pleased with the tonal distribution, whilst still managed to keep a high contrast look.
This shot was exposed for the highlights then I lifted the shadows in post.
If you hadn’t already guessed (hint: lots of C1E articles of late!!) I’m really impressed with the combination of C1E and the X-Pro2. I’m not so smitten with C1E and the X-Pro1 (I mean it’s not bad, just not head and shoulders over what I was getting with that camera and SilkyPix), and when I tried the full fat C1 with the M9 I thought it was very similar to what I could get from the M9 in LR6.
What’s most impressing me with C1E and the X-Pro2 is that the RAF opens in a inaugural state that appeals to my tastes and seems to require only small amounts of editing to really sing (provided the base exposure is in the right ballpark)
After over half a decade of complaints about Adobe’s X-Trans demosaicing, having the power of C1 raw engine combined with its vibrant colours (plus now of course the Fujifilm simulations), free of charge is a very, very strong addition to the Fujifilm image pipeline.
======================================
======================================
See more of my work on Instagram and Flickr
======================================
A lot of time and effort goes into this site.. Hopefully it’s helped you? Perhaps you’d consider helping me?
One way you could help me is if you want to buy from Amazon, if you do so using the links below, then I will receive a small percentage of your expenditure, and you will pay NO MORE than you would have paid anyway.
Shop at Amazon USA
Fujifilm X-Pro2 ¦ Fujifilm X-Pro2 Handgrip
¦ Shop for Fujifilm X-Pro
¦ Shop for Fujifilm X-T
¦ Fujifilm XF Lenses
¦ Fujifilm XF Acessories
Shop at Amazon UK
Fujifilm X-Pro2 ¦ Fujifilm X-Pro2 Handgrip
¦ Shop for Fujifilm X-Pro
¦ Shop for Fujifilm X-T
¦ Fujifilm XF Lenses
¦ Fujifilm XF Acessories
If there’s a different product you’re considering, then perhaps you’d drop me a line and I can send you an associate link for it?
Another way you could help, is by making a donation. The donate button can be found on the link below
Thank You Very Much!
======================================
The X-Pro Series Content: Referenced and All In One Place
The X-Pro Series Content: A Contents Page with Page Numbers and a Brief Description
